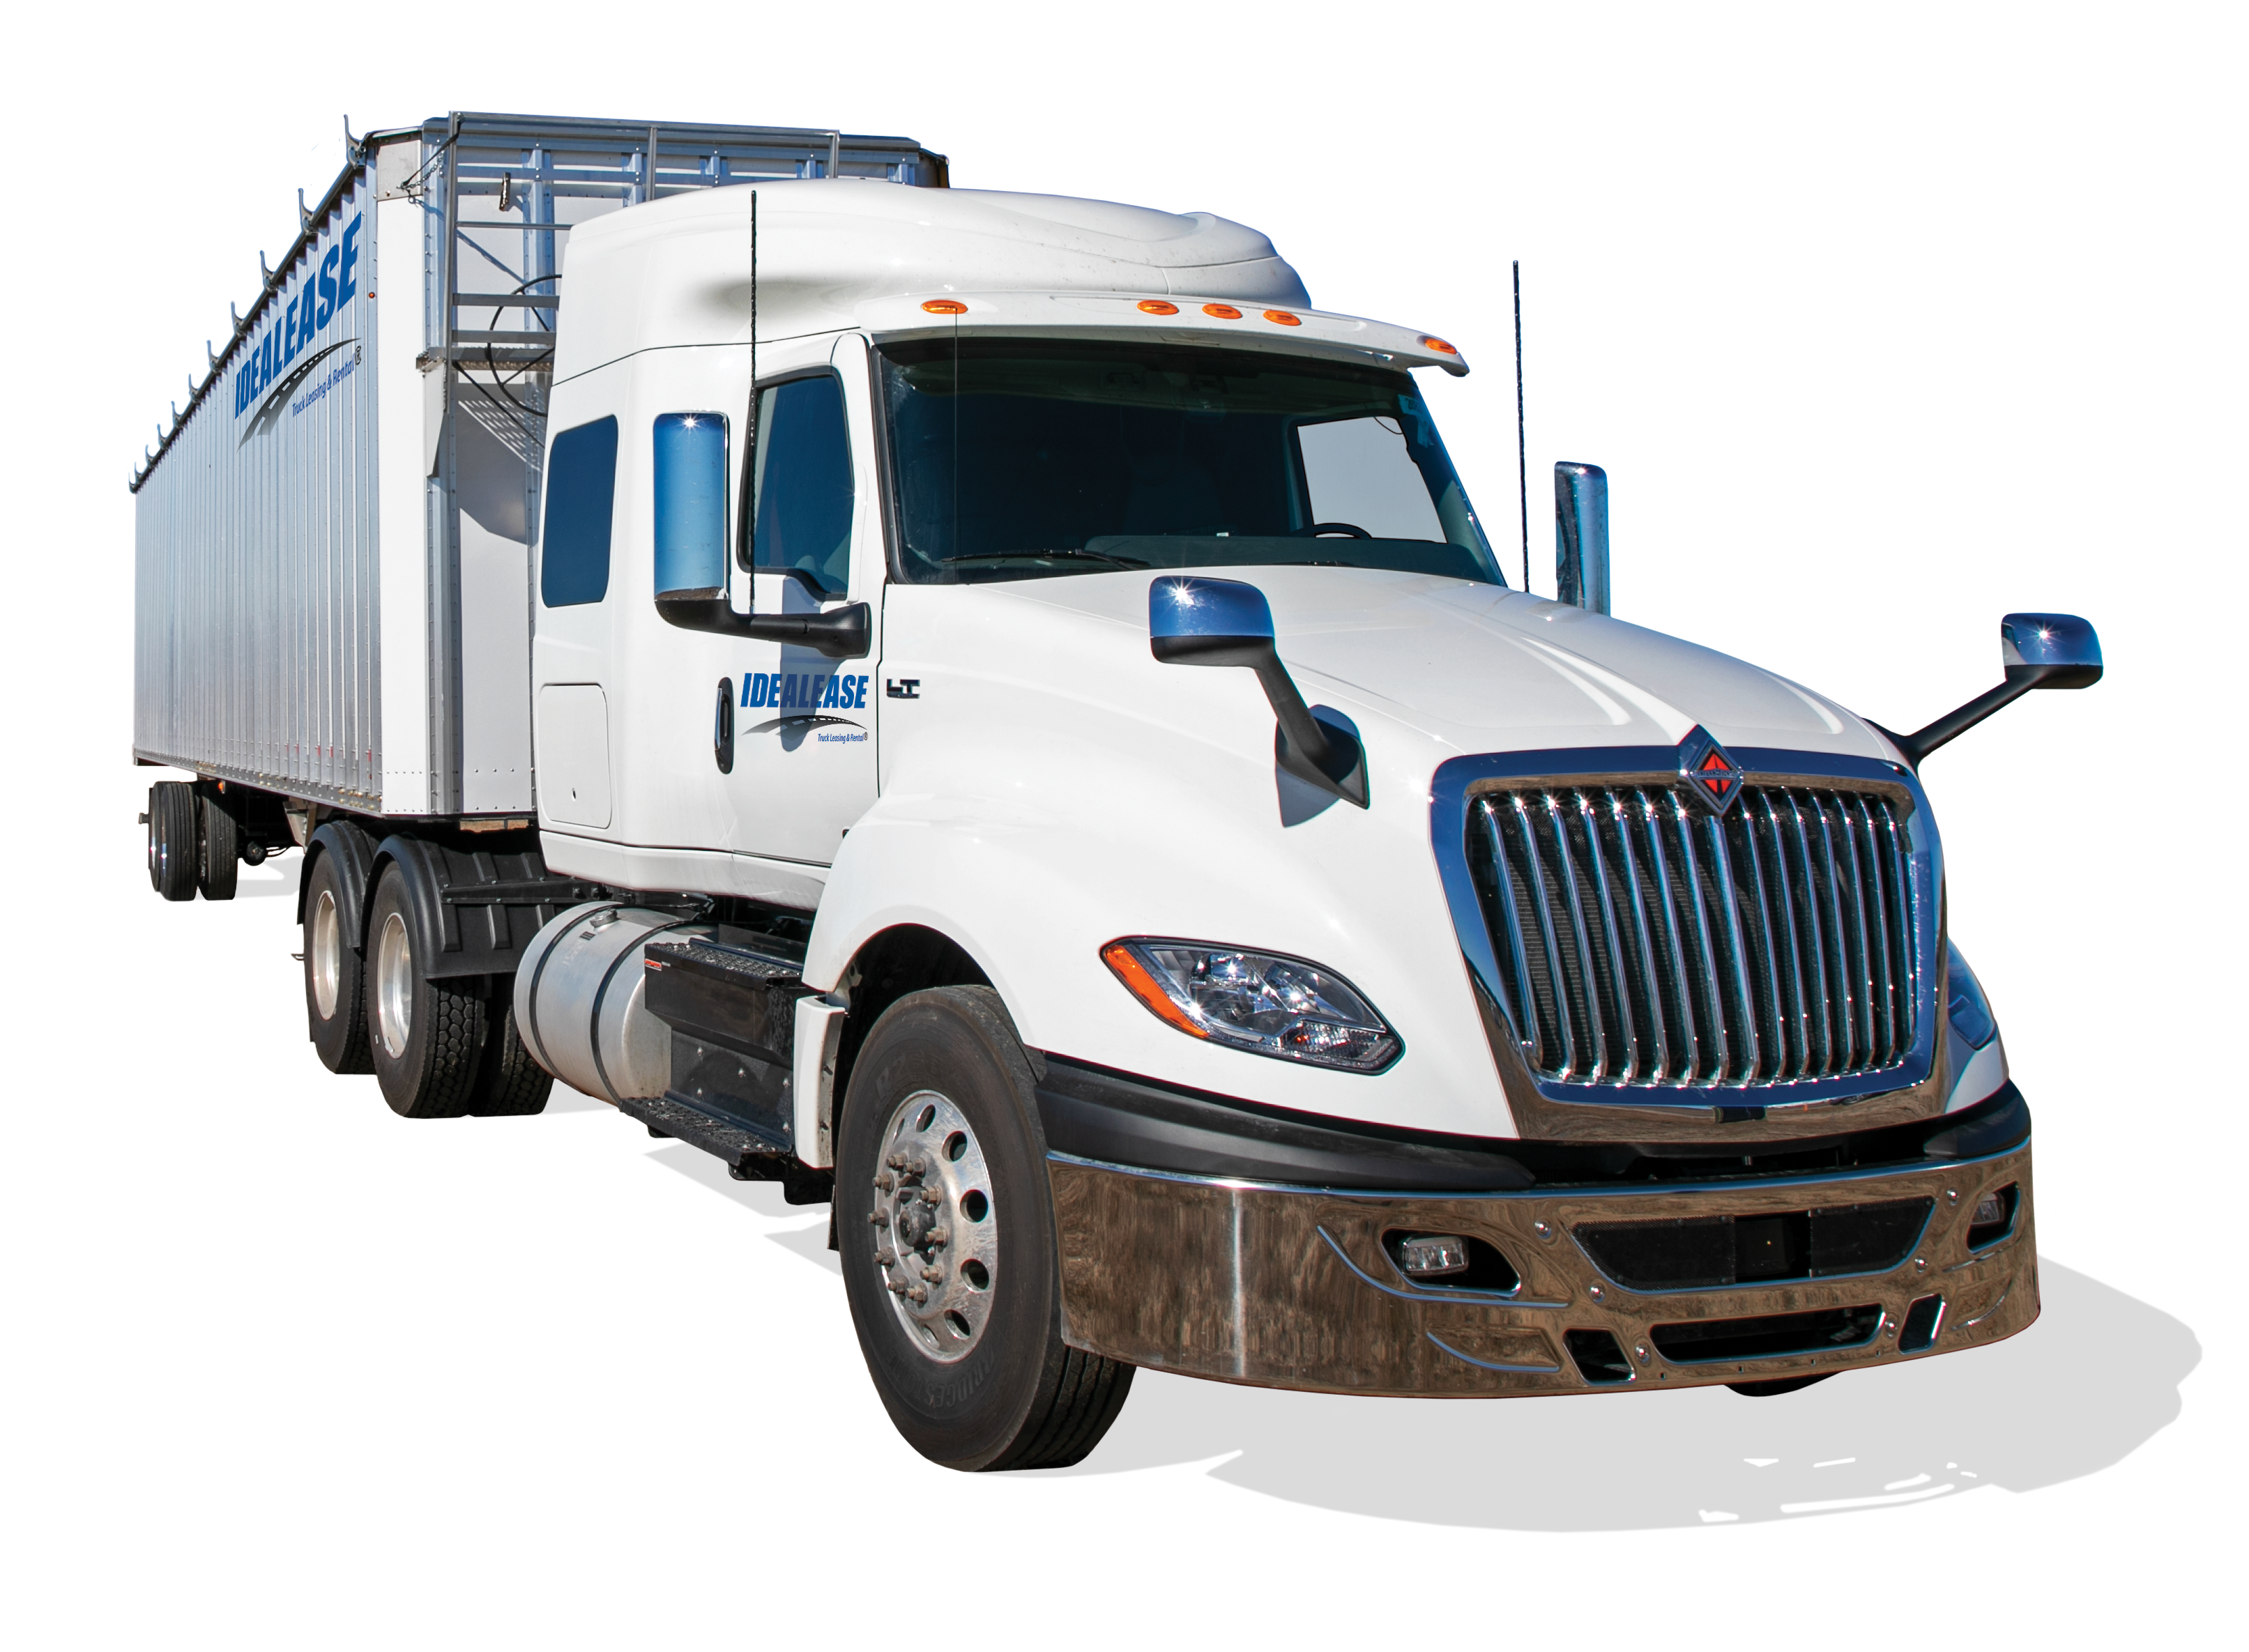
The mirrors on your vehicles provide your driver with real-time information so they can operate the unit safely. If the mirrors are in poor condition and or out of adjustment the lack of the information that they provide can contribute to or be the sole cause of an accident. It always amazes me when I look at a fleet of trucks how many of them have damaged or out of adjustment mirrors. Make a habit of checking the mirrors in your fleet at least once weekly to make sure they are adjusted and tight. Getting in your unit after a driver returns from his/her route and looking at where the mirrors are adjusted will tell you whether your driver is using the mirrors properly for defensive driving.

Use of Mirrors
-
A professional driver watches his mirrors nearly as much as he watches the road ahead.
-
Vision is restricted when using mirrors.
-
As a precaution, you should always check for traffic with and without mirrors.
-
Proper adjustment of mirrors is essential in safe driving.
-
To adjust mirrors accurately on a combination unit, the vehicle must be in a straight line. The driver must be in a normal position behind the steering wheel while adjusting
-
Mirrors should be clean and without cracks
-
Mirror heads and support brackets should be properly tightened to reduce vibration at the mirror head.
-
Keep your eyes moving while you are driving! Do not stare at any one object for more than two seconds.
Mirror Station
-
If you have a room at your facility, I suggest that you consider making a mirror check station.
-
The Mirror station requires that you have a flat level hard surface that is 30’ wide by 80’ long.
-
Use white outdoor marking paint to make the station.
-
Require drivers before starting their route to go through the station to make sure their mirrors are properly adjusted.
Safety Meeting Exercise
As part of your next driver safety meeting have a driver get into the cab of a unit with the engine shut off and key removed and sit in the proper driving position with the seat belt fastened. Tell the driver that you are going to have one of his/her fellow drivers go to the back of the truck/trailer and walk away from the unit in a straight line. Have the driver in the cab blow the horn when he/she can see the other driver in the mirrors. Before starting the exercise have the drivers guess the total distance from the back of the unit to where the driver will be when the horn blows. This will show the drivers the distance of the blind spot located directly behind their unit.
If I am stopped on the side of the road, where do I place the warning triangles?
First, activate your 4-way hazard flashers immediately!
Next place the warning reflective triangles as follows:
- One on the traffic side of and 4 paces (approximately 3 meters or 10 feet) from the stopped commercial motor vehicle in the direction of approaching traffic.
- One at 40 paces (approximately 30 meters or 100 feet) from the stopped commercial motor vehicle in the center of the traffic lane or shoulder occupied by the commercial motor vehicle and in the direction of approaching traffic.
- One at 40 paces (approximately 30 meters or 100 feet) from the stopped commercial motor vehicle in the center of the traffic lane or shoulder occupied by the commercial motor vehicle and in the direction away from approaching traffic.
- Hills, curves, and obstructions. If a commercial motor vehicle is stopped within 500 feet of a curve, the crest of a hill, or other obstruction to view, the driver shall place the warning signal in the direction of the obstruction to view 100 feet to 500 feet from the stopped commercial motor vehicle so as to afford ample warning to other users of the highway.
- Divided or one-way roads. If a commercial motor vehicle is stopped upon the traveled portion or the shoulder of a divided or one-way highway, the driver shall place the warning devices as follows, one warning device at 200 feet and one warning device at a distance of 100 feet in a direction toward
Tire Safety is an important part of the driver’s daily pre and post-inspection
Accidents are often caused by tires, which are improperly inflated. With fuel and tires, two of the largest expenses in operating a truck it is important to make sure that the tires are properly inflated. The service life of a tire is shortened by improper inflation. Under-inflated tires can significantly take a bite out of the unit’s fuel mileage. The only true and accurate way to determine the air pressure in a tire is to gauge the tire with a tire pressure gauge. At your next driver’s safety meeting inflate 3 tires on rims with pressures varying by 10lbs each, with one tire at the correct pressure, one 10lbs under, and one 20lbs under. See if they can tell which tire has the correct pressure. A unique worker's compensation case I reviewed was for a driver who was checking his tires by thumping them with a hammer and the hammer bounced back breaking the driver’s jaw! When inspecting tires also pay close attention to the wear patterns and tread depth. The FMCSA regulations CFR 393.75 require that steer axle tires have a minimum tread depth of 4/32” and all other applications including trailers to have a minimum tread depth of 2/32”. Pay attention to your tires and they will provide many miles of service.


